If you have a big house or office and your router is not able to provide signals to every corner of your premises then ssetup 3 WiFi Extenders are a cheap method to resolve WiFi connectivity problems.
Just in case if you have a good budget then you can switch to a WiFi Mesh system. It is more reliable and can cover your entire area with WiFi. But obviously, mesh systems are a bit expensive. I can recommend you to go for Tp-Link, Netgear or Amazon Eero mesh WiFi system.
Nevertheless, nowadays Amazon is flooded with many cheap WiFi extenders which can also do the job for you. Some of the best ones are Netgear, Tplink, Linksys, Asus, etc. Now most people don’t exactly know how to setup more than 1 extender on the same home network. So, in this article, we learn exactly that.
To start with make sure you have all the WiFi extenders with you in the same room as the router. Now, at the moment we only need to plug just one extender and wait for around 120 seconds until its power LED gets stable and it reboots properly.
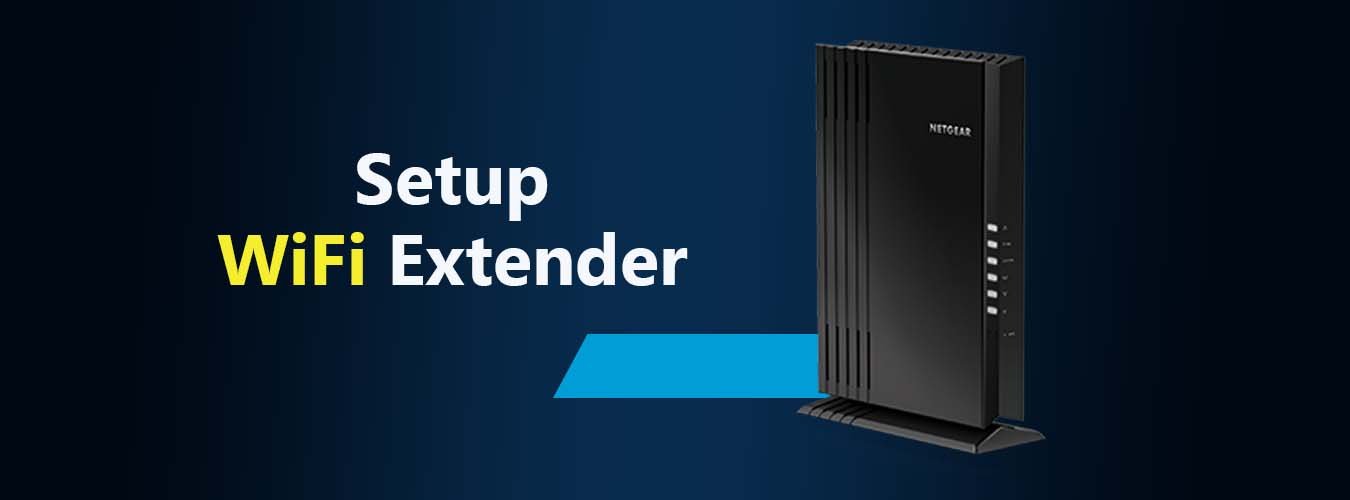
1st Extender Setup
- Depending upon the make and model of the extender you can set it up using three methods.
- First is via wps, second via browser and third via app.
- Now some brands don’t support app setup, so for this information, you will have to refer to the device’s user manual. But mostly the WPS setup and browser setup are supported by all the brands.
- So, be it a Netgear extender, tplink extender or Linksys you can follow the given below steps…
WPS setup
- In this, you need to press a small WPS button present on the extender once. As you do that you will see a blinking WPS LED on the extender.
- Now, within 120 seconds you will need to press the WPS button on the router. You can find the WPS button on the front or back side of the router. In case you can’t find it then refer to the router’s user manual. Most commonly the WPS button looks like two arrows chasing each other in a circle.
- Now, it hardly takes 30 seconds for the extender to get connected to your router’s WiFi network.
- Once connected the extender will pick up the same name as your router’s WiFi along with the (-ext) suffix. Some extenders can also have (plus), (pro), or some other suffixes too.
- Now some mesh compatible extenders pick up the same name as the router. So you won’t be able to differentiate between the extender and router network.
Browser setup
- Now let’s check the second method to set up the extender which is via browser.
- For this plug the extender into the same room as the router and let its power LED get stable.
- Next, grab your phone or computer and go to the WiFi list. There you will find your extender’s default network name showing up.
- Now, different extenders have different default names. For example, the Netgear extender’s default SSID is “Netgear_ext”. For Tp-link extenders it is “Tp-link-Extender”. For linksys extenders it is “Linksys extender setup”.
- In case you have any other brand then you will find the extender showing up in the WiFi list. It will be an open network, which means you won’t need to type any password to get connected to it.
- So tap on your extender network and connect to it.
- Once connected, open a browser on the same device and into the url you will need to type the default IP address of the extender. Now again different models have different default IP addresses. For example, the Netgear extender’s default IP is 192.168.1.250. For the tplink extender, it is 192.168.0.254. For Linksys, it is 192.168.1.1. Macard extenders have default ip 192.168.10.1.
- Along with this, you can also use their login page or setup wizard too. If these IP addresses don’t work then you can try mywifiext.net for Netgear extender. For tplink type tplinkrepeater.net into the url to access the setup page. For Chinese manufacturers, you can type http //ap.setup into the URL to access the setup page.
- If you can’t find the default IP or setup wizard link then simply google about the default IP address of your respective extender and then type it into the URL after connecting your phone or computer to the extender’s default network name to access the setup page.
- On the setup page follow the on-screen instructions to complete the setup.
Setting up second extender
- Now once you have setup the first extender then unplug the first extender and plug the second one.
- Now, follow the same setup method as you did for the first one.
- The only change that you have to follow is during the setup via browser, you will need to customize the SSID of the extender’s network to something else.
- Like for example if the first extender’s SSID is “Kevinwifi-ext”. Then you can customize the second extender’s name to “Homeext1” or “Kevinwifi2-ext”, as per your choice.
Third extender setup
- Now after the second extender setup you will need to unplug it and then plug in the third one.
- Now follow all the setup steps for this one too.
- Next, customize the SSID of the extender to something different than what your 1st and 2nd extenders are using.
- Then complete the setup steps and it’s done.
- Now you can plug all three together and they will have different SSID which you can use as per your choice.